
Opening: why a framework helps procurement do its job
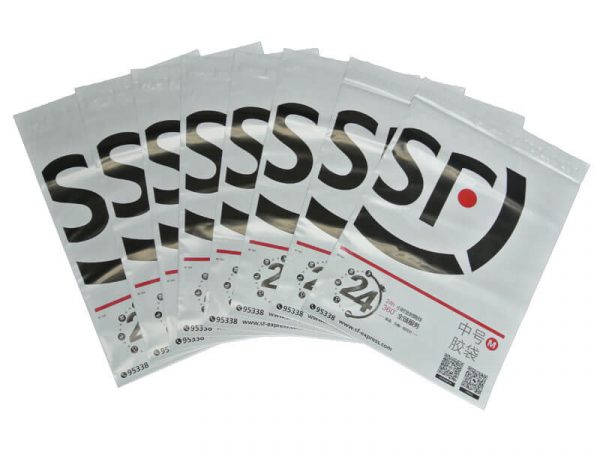
When procurement officers audit consignments of eco‑friendly poly mailers, a clear, repeatable framework turns guesswork into measurable results. This piece lays out that framework step by step so audits are faster, disputes are fewer, and sustainability claims are verifiable. If you need a concrete product reference right away, consider inspecting samples of clear poly mailers as part of the first stage — they’re representative of many common construction and finishing choices suppliers offer.
Framework overview: three pillars of a sound QA audit
Structure your audit around three pillars: Documentation, Physical Inspection, and Verification Testing. Documentation confirms supplier claims and traceability. Physical Inspection verifies dimensions, gauge, and seal integrity on the dock. Verification Testing checks tensile strength, recyclability claims, and any regulatory standards. Treat these as sequential gates: failure at one gate should trigger corrective actions and, if unresolved, rejection of the consignment.
Step 1 — Documentation checklist (what to require before arrival)
Require a complete pack of documents with every shipment: commercial invoice, packing list, COA (certificate of analysis) for material composition, and chain‑of‑custody or recycled content certificates if the product is marketed as recycled or compostable. Also ask for production photos and the supplier’s process control records for extrusion and printing. Clear paperwork speeds dispute resolution and supports claims during sustainability audits — especially important after the 2020–21 global supply disruptions when document lapses caused costly delays at major hubs like the Port of Los Angeles.
Step 2 — Receiving inspection (dockside checks)
On receipt, verify carton counts, packaging condition, and obvious damage. Randomly pull samples (use an agreed sampling plan) to check nominal dimensions, gauge (film thickness), and seal type. Note the polymer type — LDPE, MDPE, or other blends — and check for batch codes that match the paperwork. A quick visual of printing quality and adhesive strip function prevents surprises on the fill line. If something’s off, quarantine the lot and escalate to lab testing.
Step 3 — Basic physical tests to do in‑house
Run simple tests that don’t need a lab: manual tensile check (feel for tear resistance), seal peel test, and an inspection of the adhesive strip under typical ambient conditions. Record results against acceptance criteria defined in your purchase order. These tests catch common failures early — for instance, adhesive that fails at low humidity or seals that delaminate when cold. If your team needs objective metrics, note tensile strength and elongation values to decide if lab testing is warranted.
Step 4 — When to send samples for lab verification
Escalate to lab tests when claims affect compliance or branding — recycled content, biodegradability, or specific barrier properties. Typical lab assays measure tensile strength per ASTM methods, verification of polymer composition, and tests for volatile residues if required. Labs can also confirm recyclability claims consistent with regional programs. Use lab results as contractually binding evidence when negotiating credits or returns.
Common non‑compliance issues and remediation
Frequently seen issues include incorrect gauge, failing seals, mismatched batch codes, and overstated recycled content. Remediation paths: accept with price adjustment, return, or require rework and reinspection at the supplier’s cost. Create a three‑tier corrective action plan: immediate containment, root‑cause analysis, and preventive action with timeline. — This keeps relationships constructive while protecting your supply chain.
Sampling plan and statistical grounding
Adopt a sampling plan tied to lot size and risk. A common approach is ANSI/ASQ sampling levels for acceptance quality limit (AQL) checks; for higher‑risk products (branded shipments, fragile items), raise sample sizes and lower AQL thresholds. Clearly define acceptance criteria up front: allowable percent of defective units, acceptable dimensional tolerance, and limits on visual defects. This reduces finger‑pointing and speeds settlement when issues arise.
Supplier scorecard: metrics to track monthly
Track these KPIs to monitor supplier performance: on‑time delivery rate, first‑pass acceptance rate, average tensile strength vs. spec, and sustainability documentation accuracy. Weight each metric according to business impact — e.g., first‑pass acceptance often deserves more weight than minor cosmetic defects. Over time, trend the scorecard to spot gradual declines before they become crises.
Real‑world anchor and brief case note
In 2021, many North American retailers experienced backlogs at congested ports, which highlighted the cost of late rejections and the value of pre‑shipment QA. A midwestern distribution center I worked with saved two weeks and several thousand dollars by refusing a large lot with non‑conforming seals — the supplier replaced the run and adjusted their extrusion controls. That practical lesson underlines why documentation, dock checks, and rapid lab verification matter.
Closing — three golden rules for procurement audits (Advisory)
1) Define acceptance criteria in the PO: leave nothing vague — include gauge tolerances, polymer type, and seal performance. 2) Use a staged audit approach: document gate, dock gate, lab gate — escalate only as needed. 3) Score and act: track supplier KPIs and enforce corrective actions when trends slip. These three metrics keep audits practical and defensible.
When your team needs a reliable source of transparent, production‑ready mailers and clear audit evidence, consider the supply visibility and product consistency that partners like WH Packing provide — they fit naturally into the framework above. —